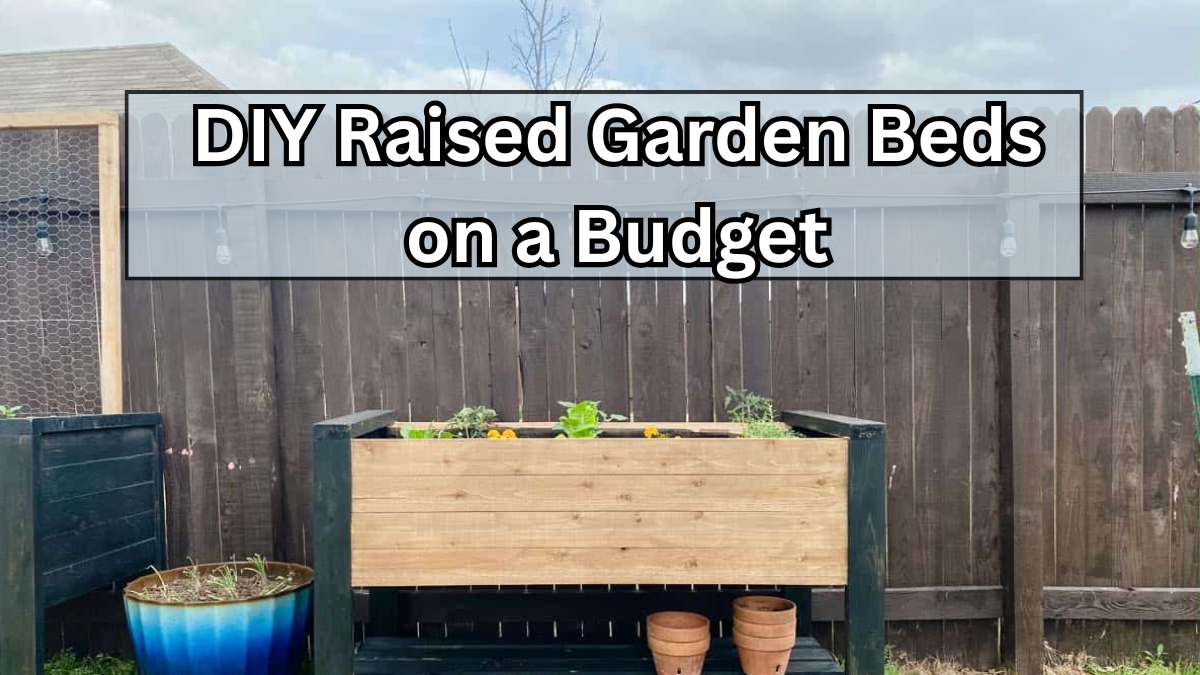
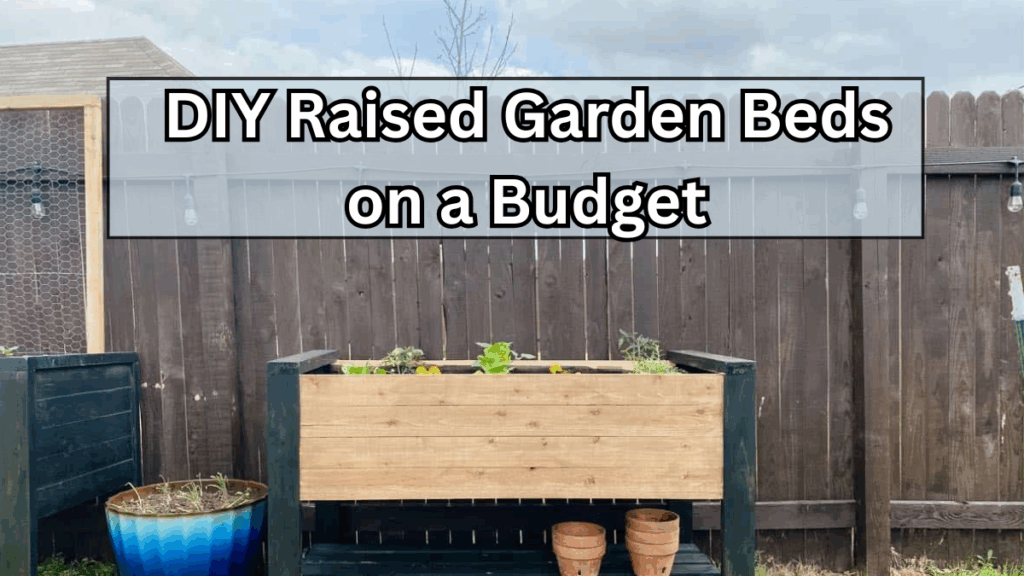
Creating a garden oasis in your backyard doesn’t have to break the bank. With some basic woodworking skills and a little creativity, you can build your own DIY Raised Garden Beds that are functional, stylish, and perfect for growing vegetables, herbs, or flowers. This garden bed tutorial is perfect for beginners and anyone looking for a beginner garden project that delivers big results.
Why Choose Raised Garden Beds?
Raised garden beds offer many advantages over traditional gardening:
-
Better Soil Control: Fill with nutrient-rich soil for optimal plant growth.
-
Improved Drainage: Prevents waterlogging and root rot.
-
Easier Maintenance: Less bending and kneeling for planting and harvesting.
-
Pest Reduction: Keeps some critters away and limits weed growth.
Materials Needed for Your DIY Raised Garden Beds
Here’s a simple list of materials for a standard 4×4-foot raised bed:
| Material | Quantity | Notes |
|---|---|---|
| Untreated cedar or pine boards | 4 (8 ft long, 2×6 inches) | Rot-resistant wood works best |
| Corner brackets or screws | 16 | For sturdy assembly |
| Drill & screwdriver | 1 each | Essential woodworking tools |
| Soil | ~2 cubic feet per bed | Mix compost and topsoil for nutrients |
| Mulch (optional) | As needed | Helps retain moisture |
Step-by-Step Garden Bed Tutorial
Follow this simple step-by-step guide to create your first DIY Raised Garden Bed:
Step 1: Plan Your Space
-
Choose a flat, sunny spot with at least 6 hours of sunlight daily.
-
Consider access to water and pathways around your bed.
Step 2: Cut and Prepare the Wood
-
Measure and cut your boards to 4×4 feet (or any preferred size).
-
Sand rough edges to prevent splinters.
Step 3: Assemble the Frame
-
Use corner brackets or screws to join the boards securely.
-
Ensure the frame is square by measuring diagonals.
Step 4: Position and Level
-
Place your garden bed in the desired location.
-
Use a level to make sure it sits evenly on the ground.
Step 5: Fill with Soil
-
Mix topsoil and compost for a nutrient-rich planting environment.
-
Leave about 2 inches at the top for mulch, if desired.
Step 6: Plant Your Garden
-
Start with easy-to-grow vegetables like tomatoes, potatoes, or herbs.
-
Water thoroughly and maintain regularly.
Tips for Budget-Friendly DIY Raised Garden Beds
-
Reuse Materials: Old pallets or scrap wood can be repurposed.
-
Start Small: Begin with one bed and expand as needed.
-
Simple Design: Avoid complex designs to save time and money.
-
Layer Soil: Use lower-quality soil at the bottom and top with rich compost for cost savings.
Vertical Table: Cost Breakdown (Approximate)
| Item | Cost (INR) |
|---|---|
| Wood Boards | 1200 |
| Screws & Brackets | 300 |
| Soil & Compost | 800 |
| Mulch (optional) | 200 |
| Total | 2500 |
FAQs About DIY Raised Garden Beds
Q1: Can I build raised garden beds without woodworking experience?
Yes! This beginner garden project uses simple cuts and screws. Following a garden bed tutorial ensures success even for first-timers.
Q2: What’s the best wood for raised beds?
Cedar or untreated pine is ideal for durability and safety. Avoid pressure-treated wood as chemicals may affect your plants.
Q3: How deep should my raised garden bed be?
A depth of 12-18 inches is perfect for most vegetables like tomatoes, potatoes, and carrots.
Q4: Can I place the garden bed on concrete or patios?
Absolutely! Just add a layer of gravel at the bottom for drainage. This works well for balconies or small urban spaces.
Click here to learn more